*This post is sponsored by The Home Depot
Links below are affiliate links, clicking on them helps me keep this site going at no extra cost to you. Thank you for supporting my site.
In the Fall of 2011 I bought my home. One of my goals for the house was to transform the attached 3-car garage into a woodshop. Shortly after moving into my home, I bought a Craftsman tool chest from Sears. Many tool companies such as Craftsman offer several different lines of tools for the home DIYer to the consummate professional. The tool chest that I bought was constructed of thin 22 gauge steel. While it has served me well, I’ve outgrown that tool chest. The Home Depot offered me the Husky Industrial 15 Drawer Tool Chest and Cabinet as an upgrade to my current tool chest. The Husky tool chest and cabinet was easy to assemble, constructed of heavy gauge steel, and offered features I was looking for to accomodate a modern woodshop.
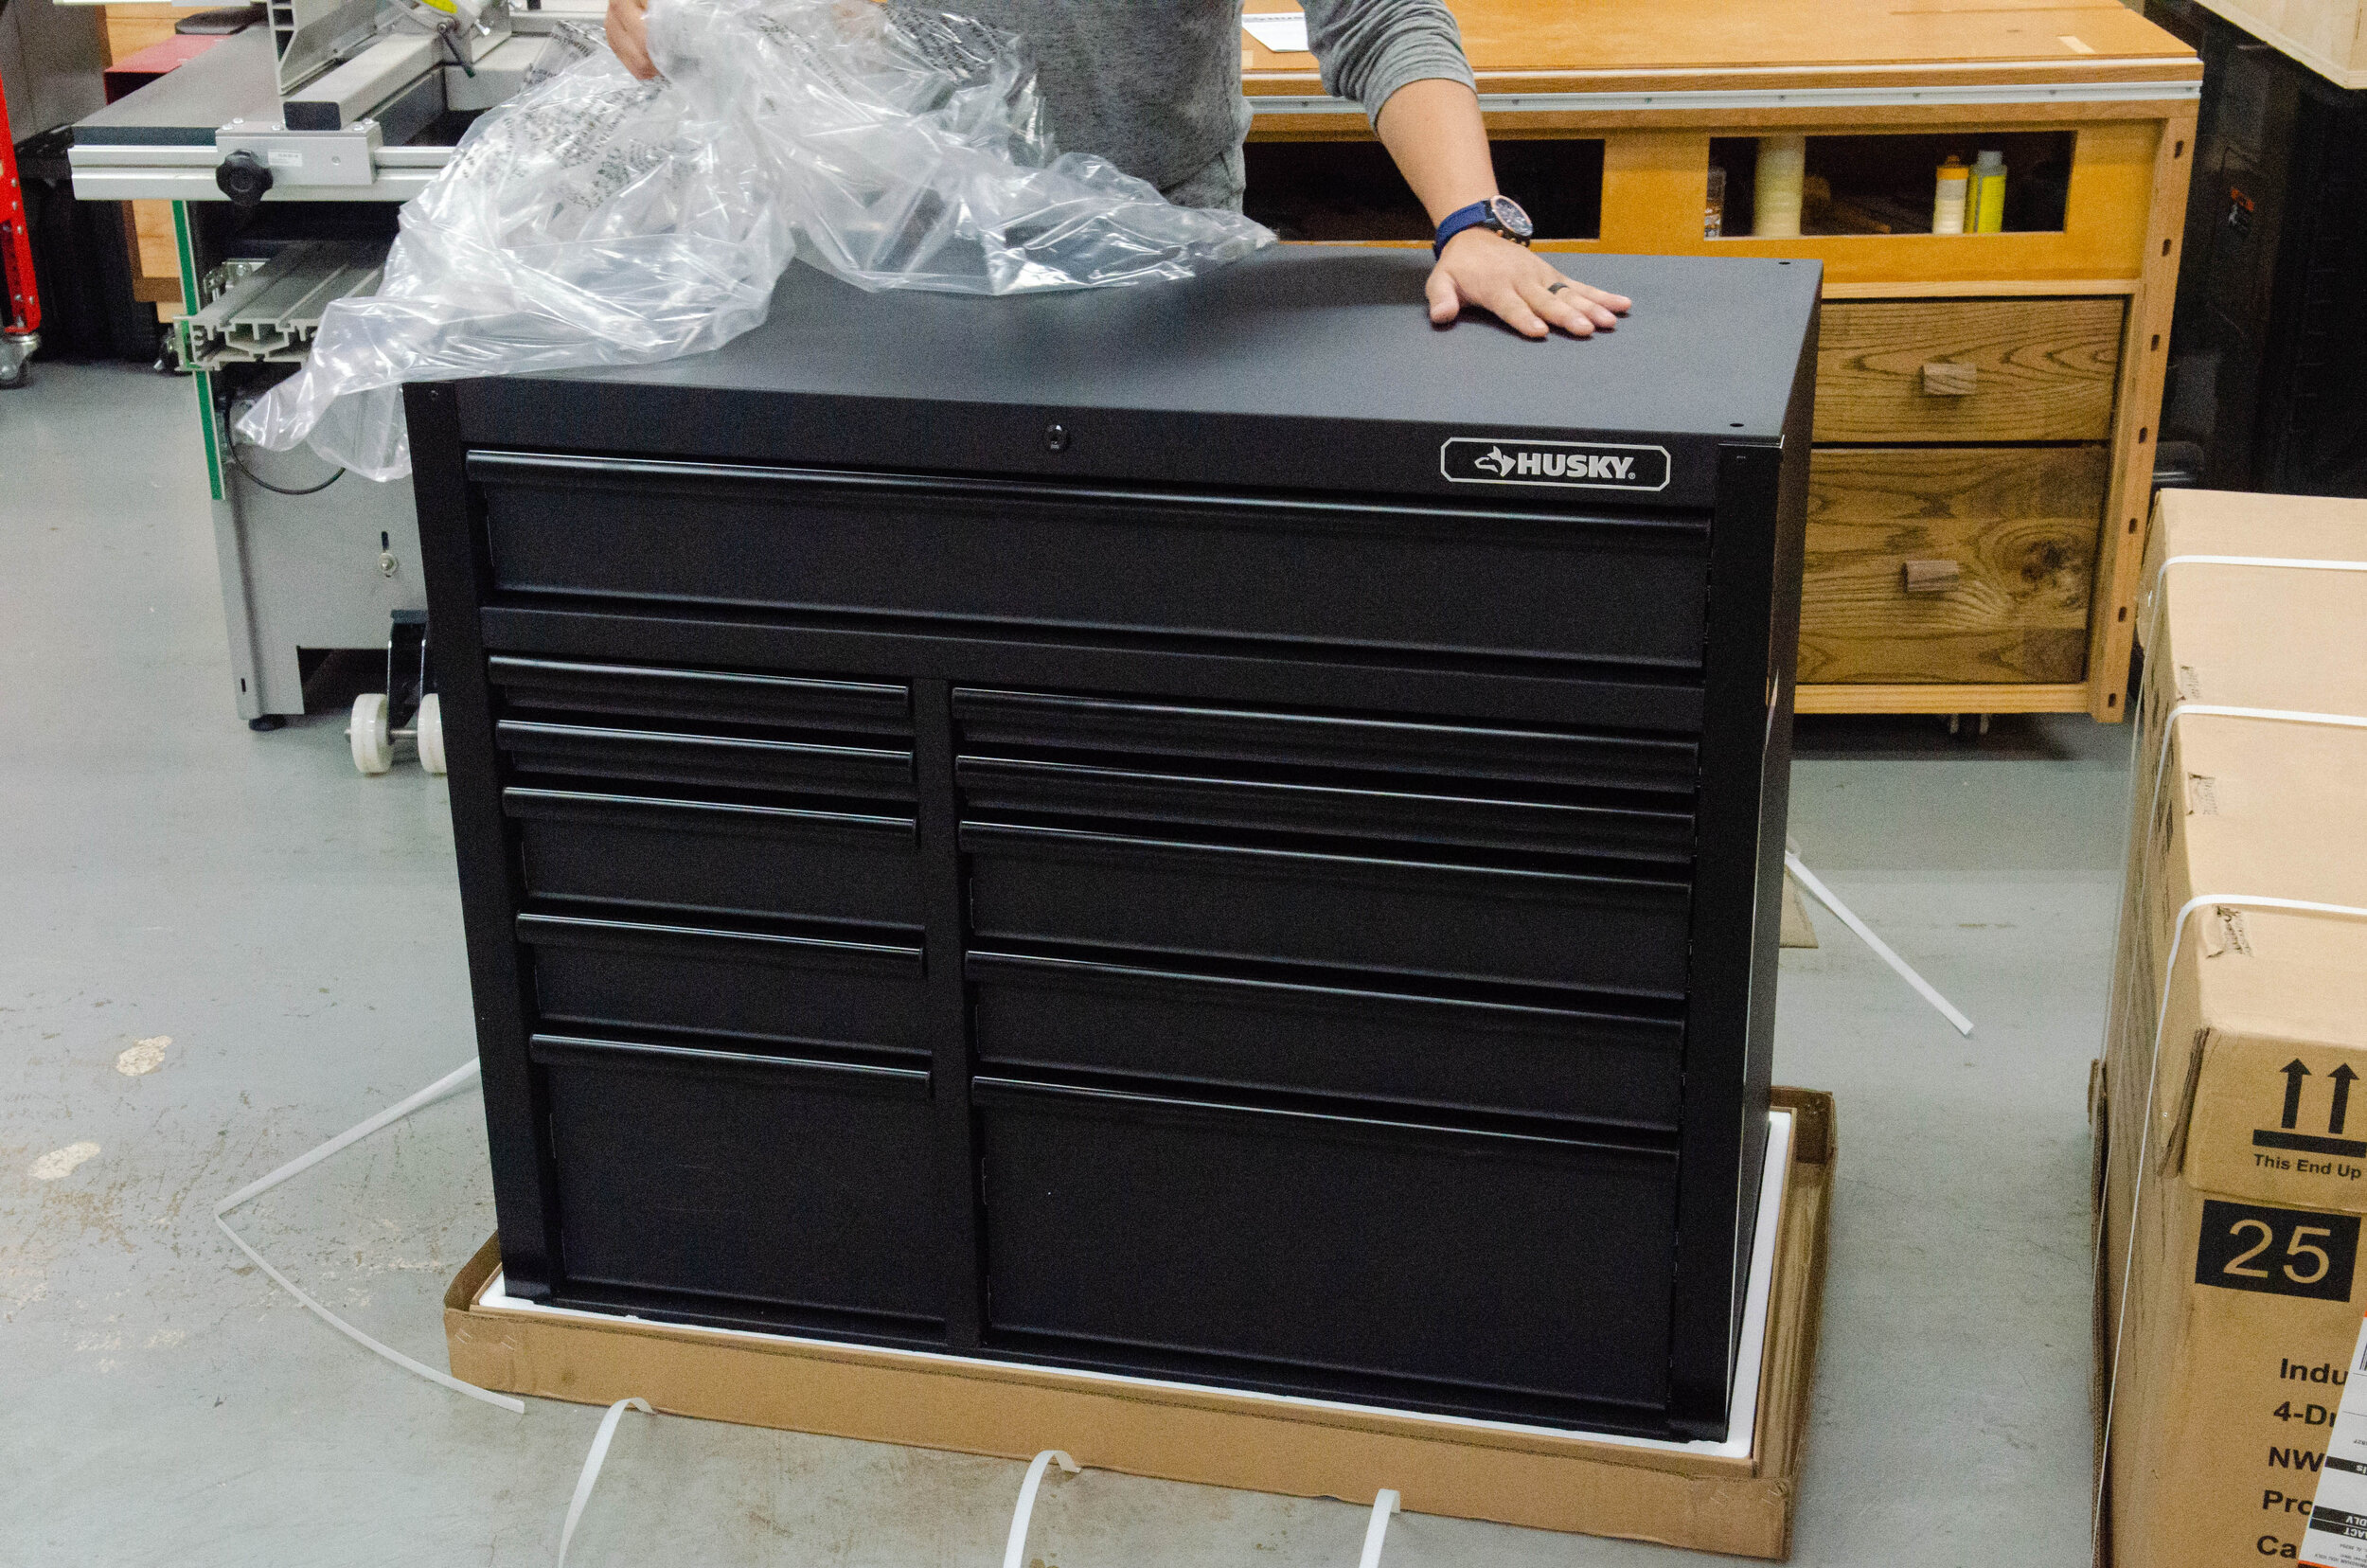
The rolling tool chest and cabinet comes in two large packages.
The rolling tool cabinet and tool chest come in two large cartons. The larger carton contains the rolling cabinet and weighs approximately 310 lbs. The smaller carton contains the tool chest and weighs approximately 200 lbs. I was fortunate enough to have the delivery company drop ship the cartons directly into my garage. Freight companies will often only drop ship these types of large cartons to the bottom of your driveway. So be prepared to have enough help, a dolly, or a hand-truck ready to move the cartons to where they need to be.
The rolling cabinet was well packaged with plenty padding and straps to secure the contents.
I first unpacked the rolling tool cabinet. I laid Styrofoam from within the carton down on the garage floor and then laid the back of the rolling tool cabinet on top of the Styrofoam. This gave me access to the bottom of the rolling tool cabinet to mount the casters.
The Husky cabinet and chest came with a minimal amount of hardware making it easy to assemble.
I was surprised to see such little hardware required to assemble the tool chest and cabinet. The instructions were very clear and easy to understand. With the rolling cabinet on its back, I installed the 2 stationary and 2 swivel casters with foot pedal locks. It took me less than 10 minutes to install the casters. Once complete, I stood the rolling cabinet on the casters and proceeded to install the cabinet handle and bottle opener.
Tilting the rolling cabinet on its back to install the casters.
After installing the casters, the handle and bottle opener are installed.
Next, I unpacked the tool chest. I had to place the tool chest on top of the rolling tool cabinet. This required two people to lift the tool chest. The tool chest and rolling cabinet are bolted together using two brackets along the back two corners.
Unpacking the top tool chest.
Fully assembled rolling tool cabinet and tool chest.
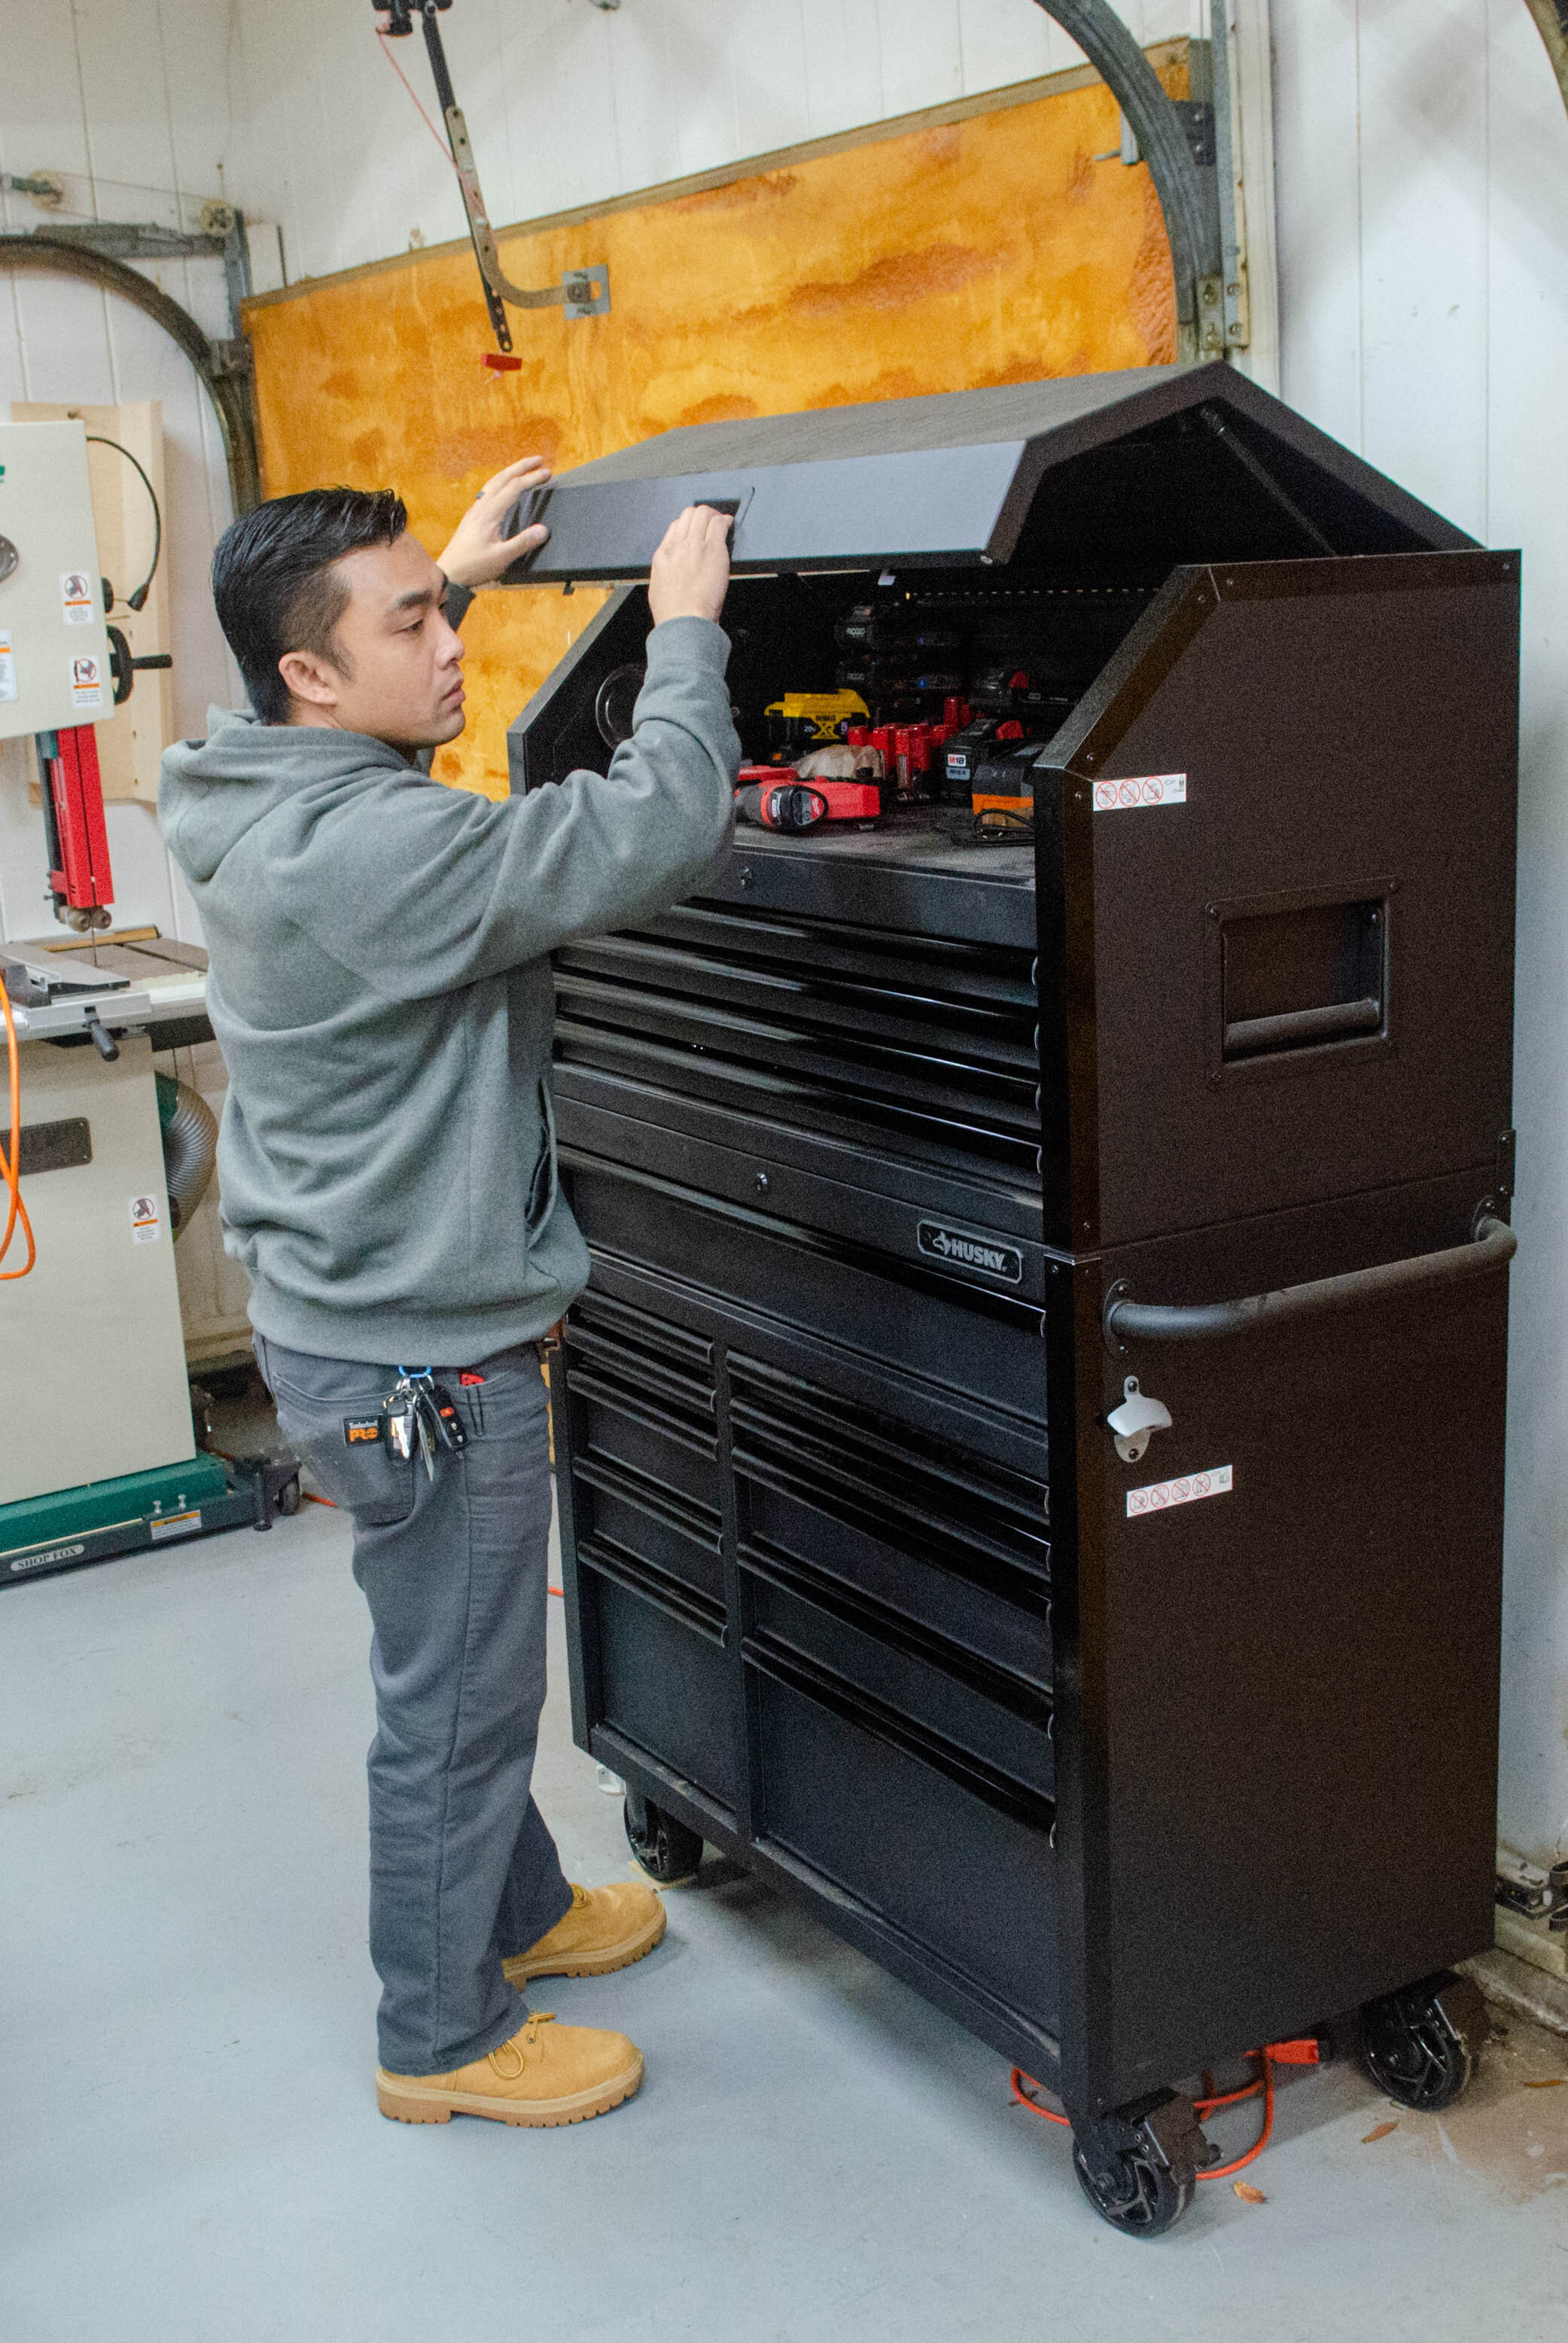
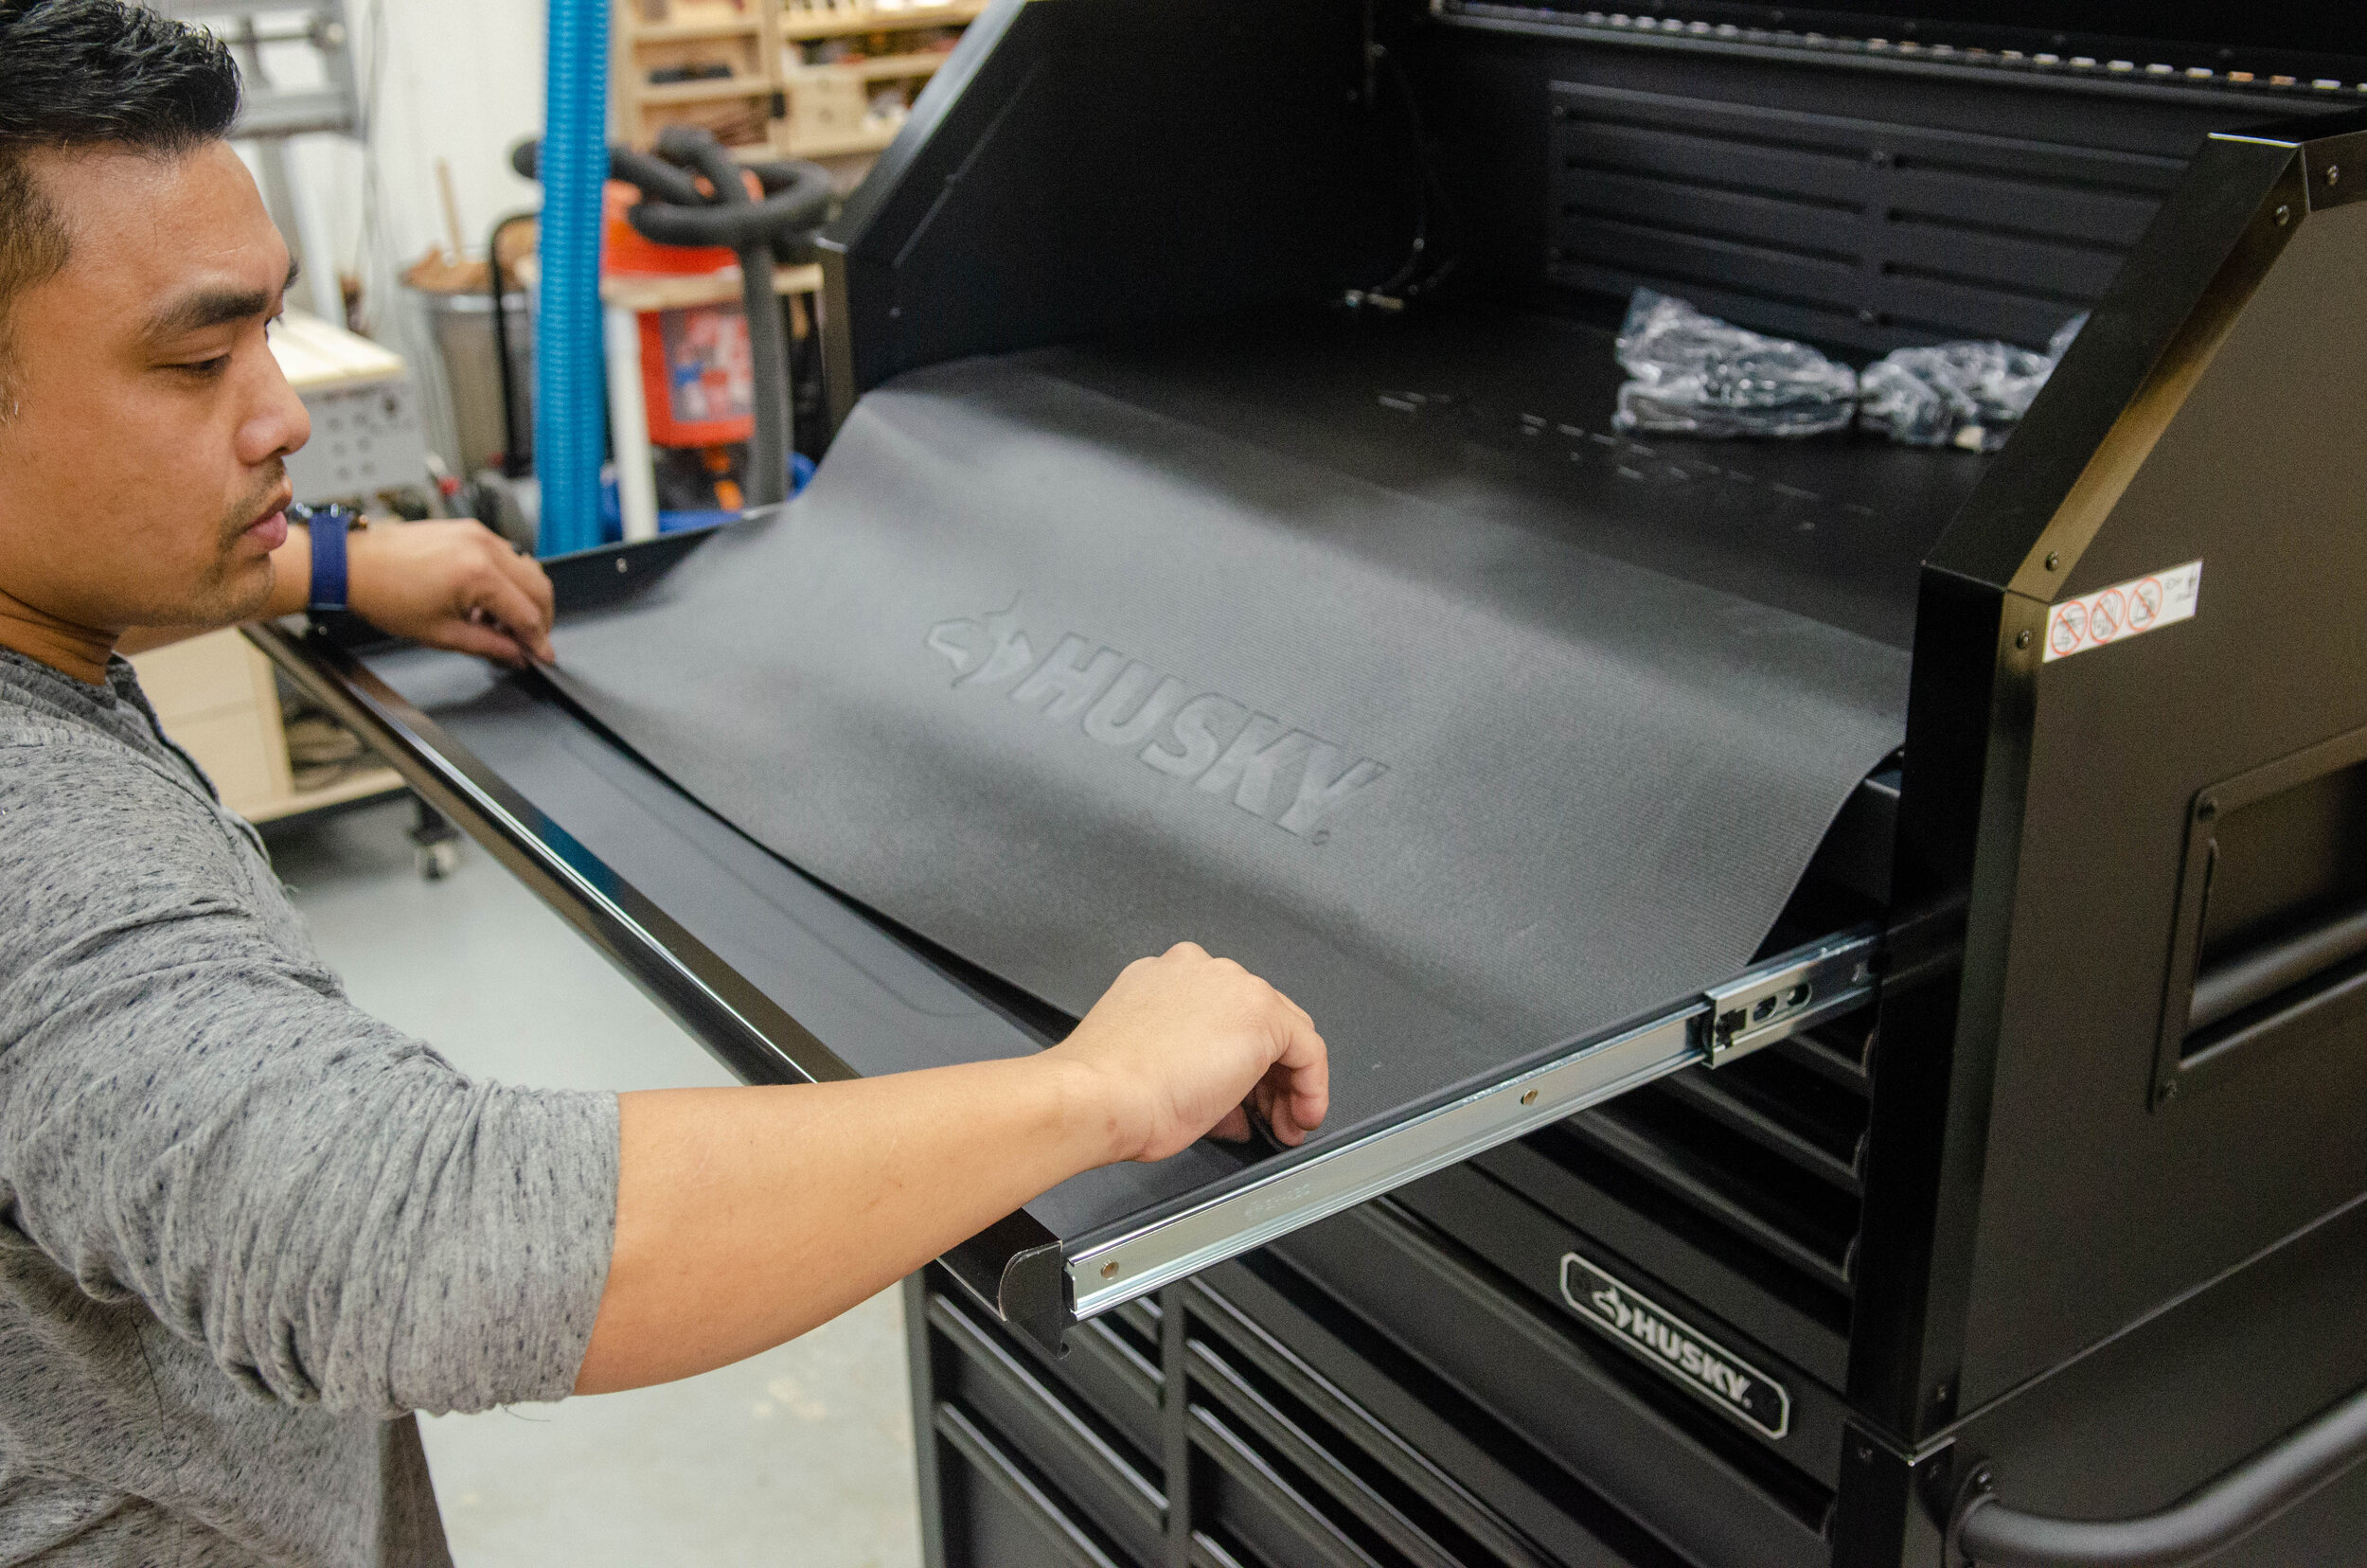
The rolling tool cabinet and tool chest feature an all-welded 18-gauge steel body with aluminum edge guards and a rust-resistant, powder coated matte black finish. The drawers have full-extension ball bearing soft close drawer slides capable of support 120 lbs and included premium drawer liners. The top till lid is supported by gas struts to assist during opening and closing. The louvered back wall of the the top till helps keep batteries cool during charging. Along the right wall of the top till are 6 electrical outlets and 2 USB ports to charge tools and electronics. Finally, the lid of the top till hides a USB-powered magnetic LED light which illuminates the top hutch.
The rolling tool cabinet and tool chest was easy to assemble, constructed of heavy duty 18 gauge steel, and has features conducive to charging tool batteries, and devices. At 41 inches and 21.5 inches, I have more than enough space to grow my tool collection and keep everything organized.
The drawers run along full-extension ball bearing drawer slides with premium drawer liners.
The till lid opens and closes with gas-assisted struts.
The drawers are plenty deep and wide to organize my wrenches.
The smaller drawer on the rolling tool cabinet are perfect for my rasps, hammers, mallets, and pliers.
The lower tall drawers of the rolling tool cabinet house my battery powered hand tools and pneumatic nailers.
The USB-powered magnetic LED light illuminates the top hutch.
The 6 electrical outlets and 2 USB ports within the top till allow for charging tools and electrical devises.


